
One of the things I've wanted, to compliment my Pentax K5 and it's video abilities, was a small lightweight jib. There are plenty of parallel jibs on the market that can be purchased for around $150-1500, but they lack specific features I was looking for. I wanted to make something small and easy to transport and setup. One of the problems with large jibs, is that they are hard to break down and move quickly.
In use, I wanted to setup, get a shot, and be able to move to another location fast, with minimal fuss. I also wanted to create something with a distinct advantage over other photographers shooting from the same locations, without becoming too "Professional" and attracting attention.
I decided to make a jib with a large weight arm, and use a smaller, reinforced parallel arm underneath to give me the maximum up and down movement. I also wanted the arm to offset the tripod to give me even further range of motion.
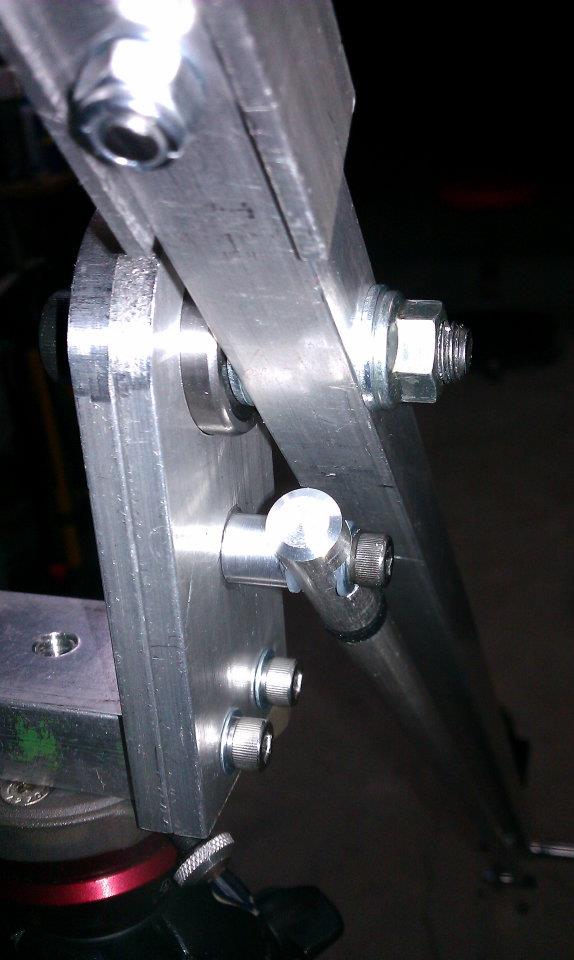
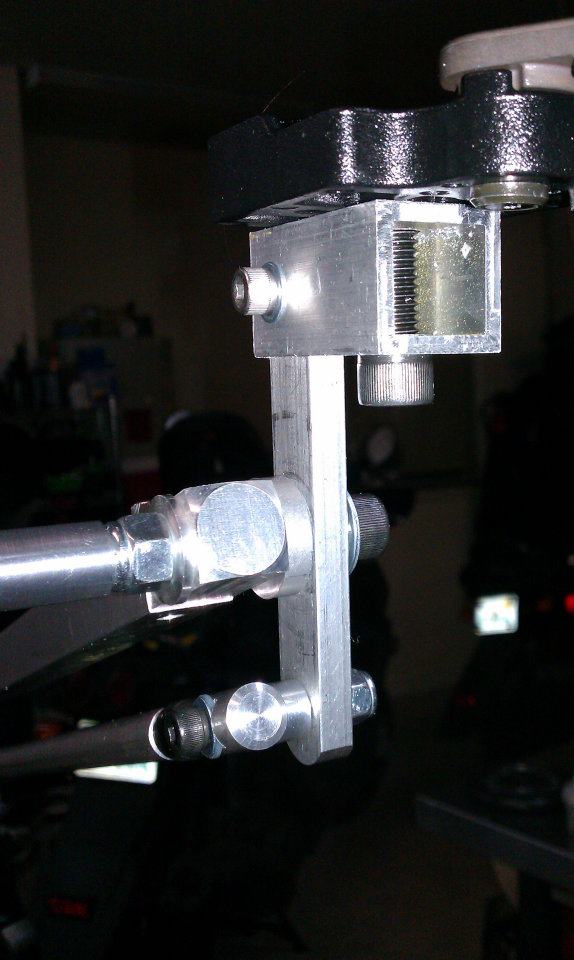
The mechanism was a little tricky in terms of how to make a small parallelogram and maintain strength. I decided to use 2 bearings, joined by a shaft, on a solid core, that was inserted into a hollow box section of aluminum . In the image below, you can see the bearings and the shaft. What you can't see, is the solid 6061 core that supports the load of the arm. The solid core is drilled and inserted inside the main arm.
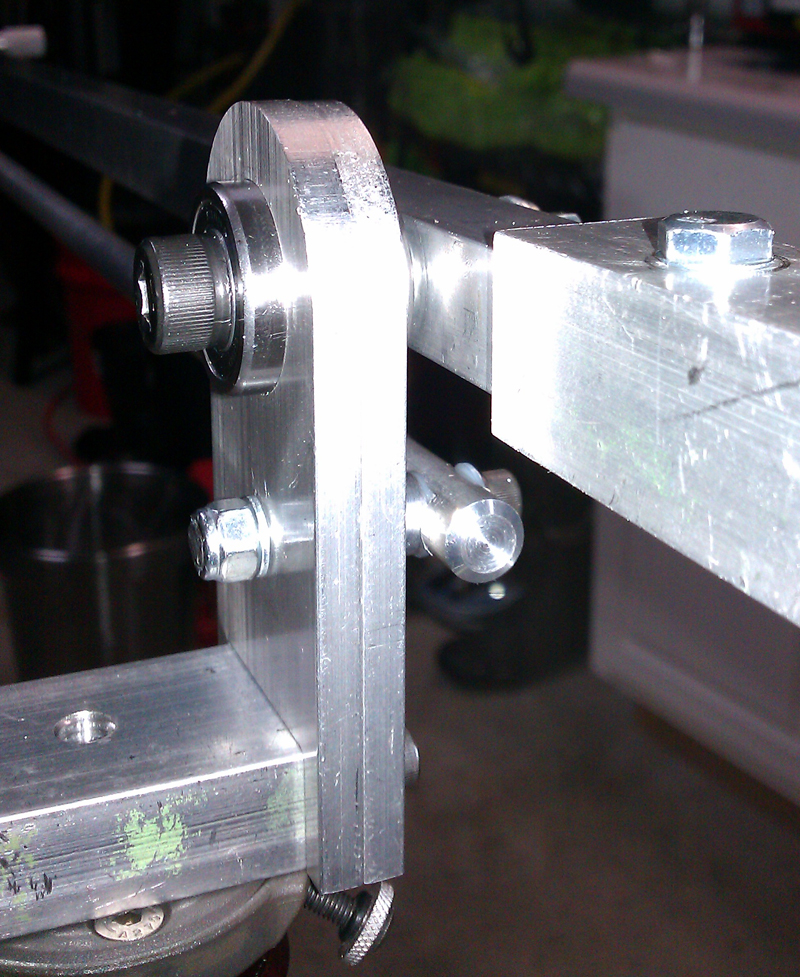
This image shows the other side, and the other bearing side. The two bearings allow for any shear forces that the arm will generate.
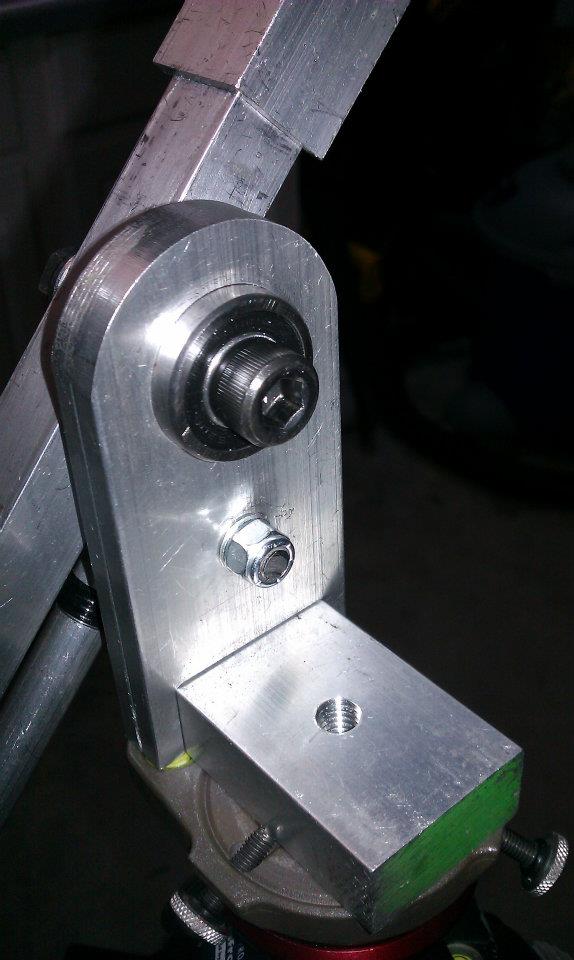
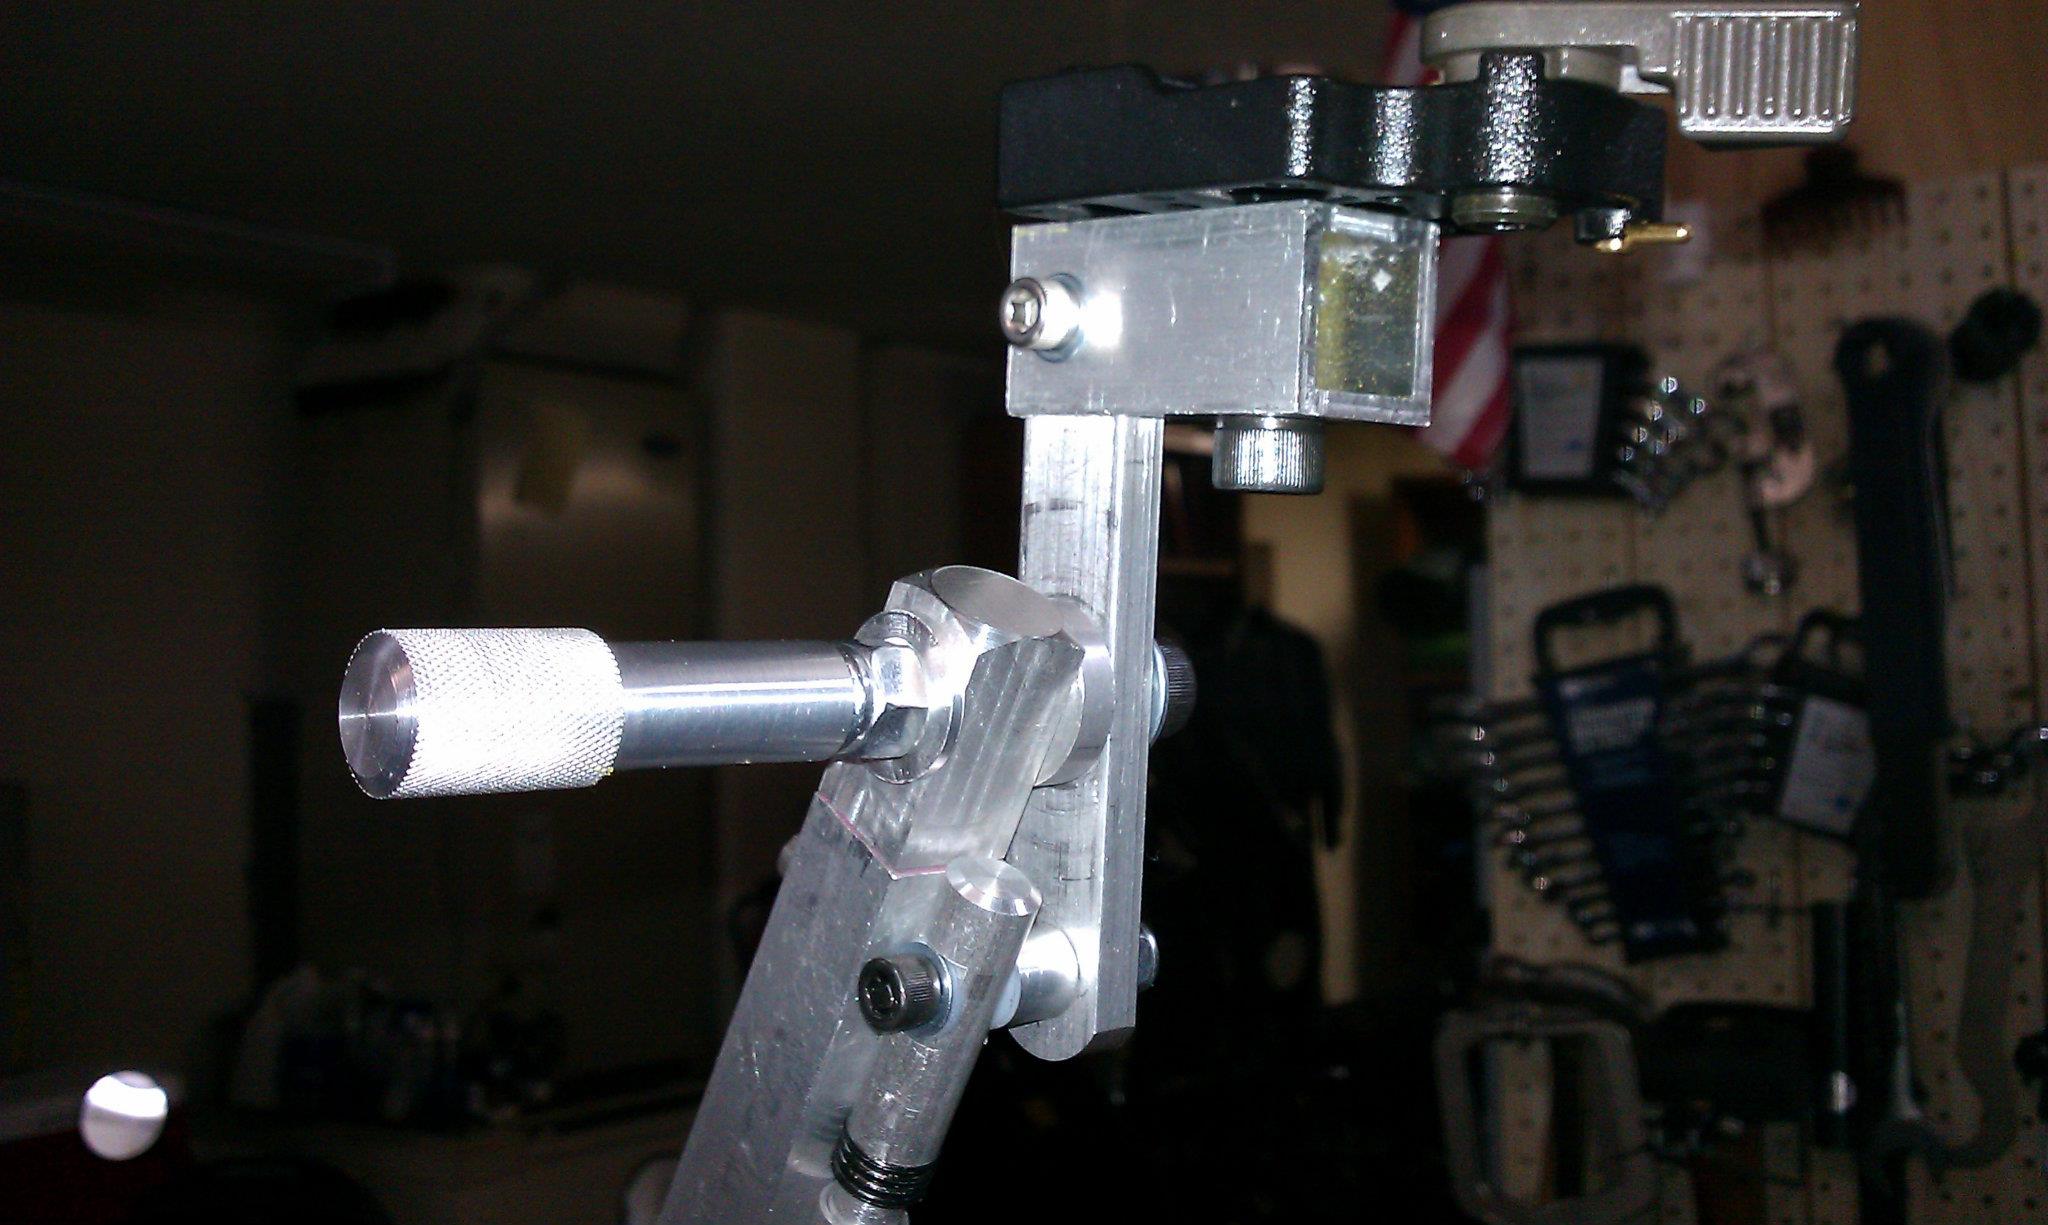
Another angle of the pivot. At this stage, all the pieces are rough as I work through the mechanism function.
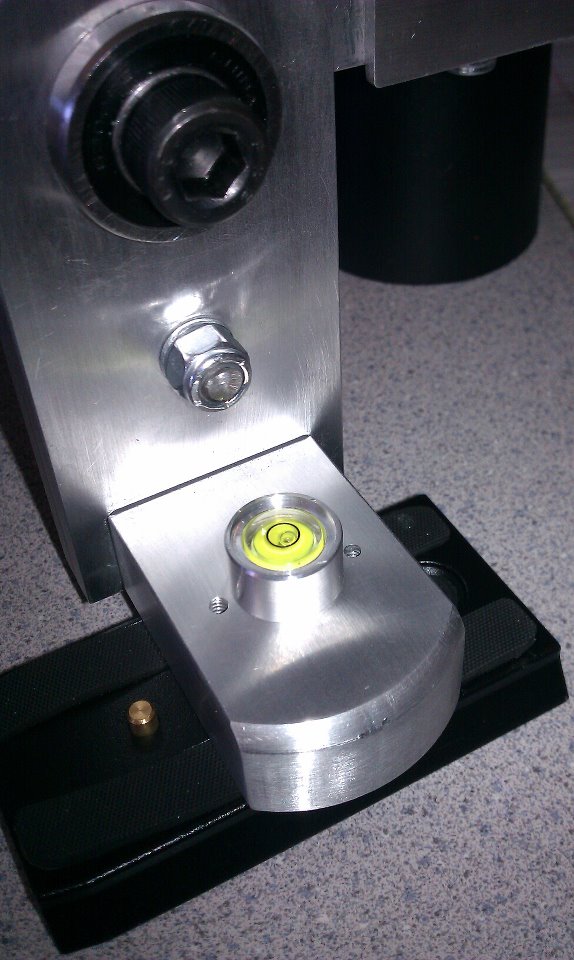
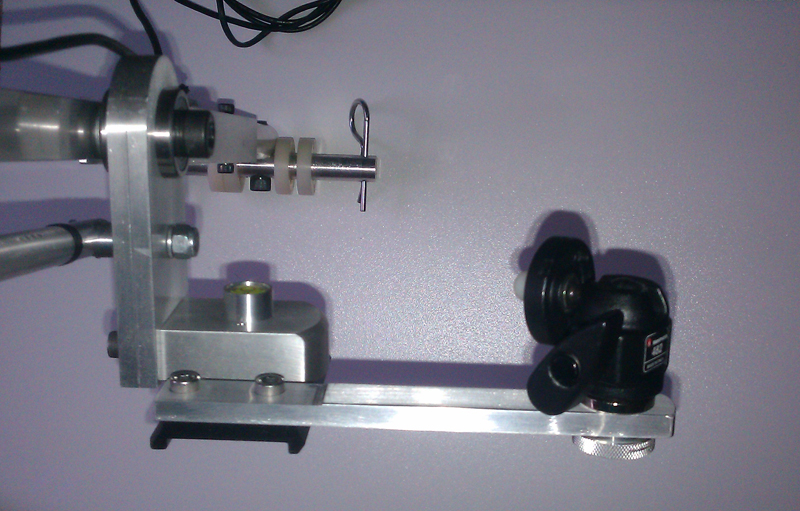
Here is the finished part with a custom level placed in the 3/8-16 tripod screw hole and mounted to a standard Manfrotto sliding plate.
On the other end, I had to create a mechanism that could support the load, and move freely.
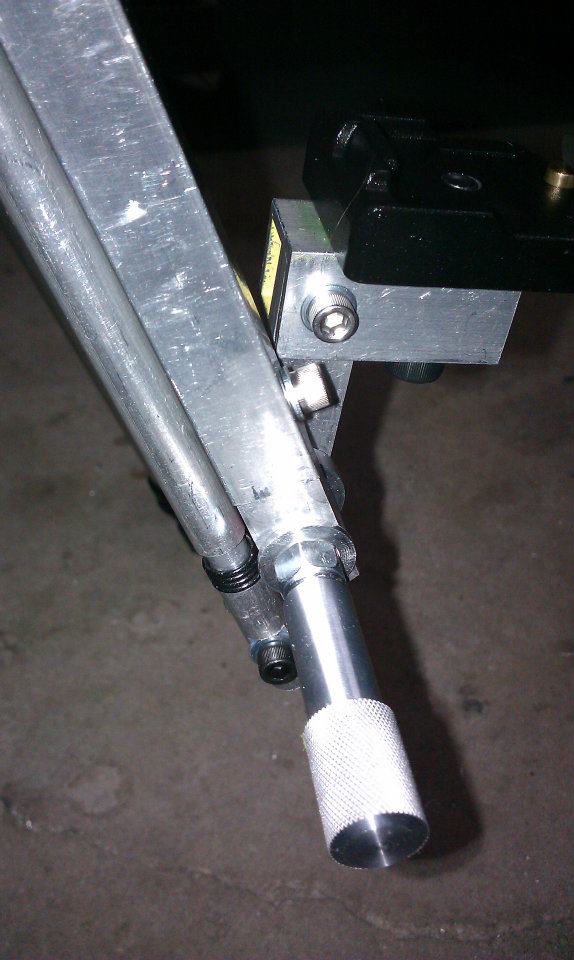
Notice how I created a strong mounting point for the Manfrotto quick release plate. The images below are not of the finished arm.
I had to do several mock ups to assure that the parallelogram remained parallel in the travel arc.
Here we see the arm in the highest point. Notice how the parallel arm (the smaller arm) maintains the parallelism of the main arm,
which supports the weight of the camera. What you don't see, is the solid steel bar that is inside the parallel arm to give it rigidity.
Here the arms are at their lowest point.
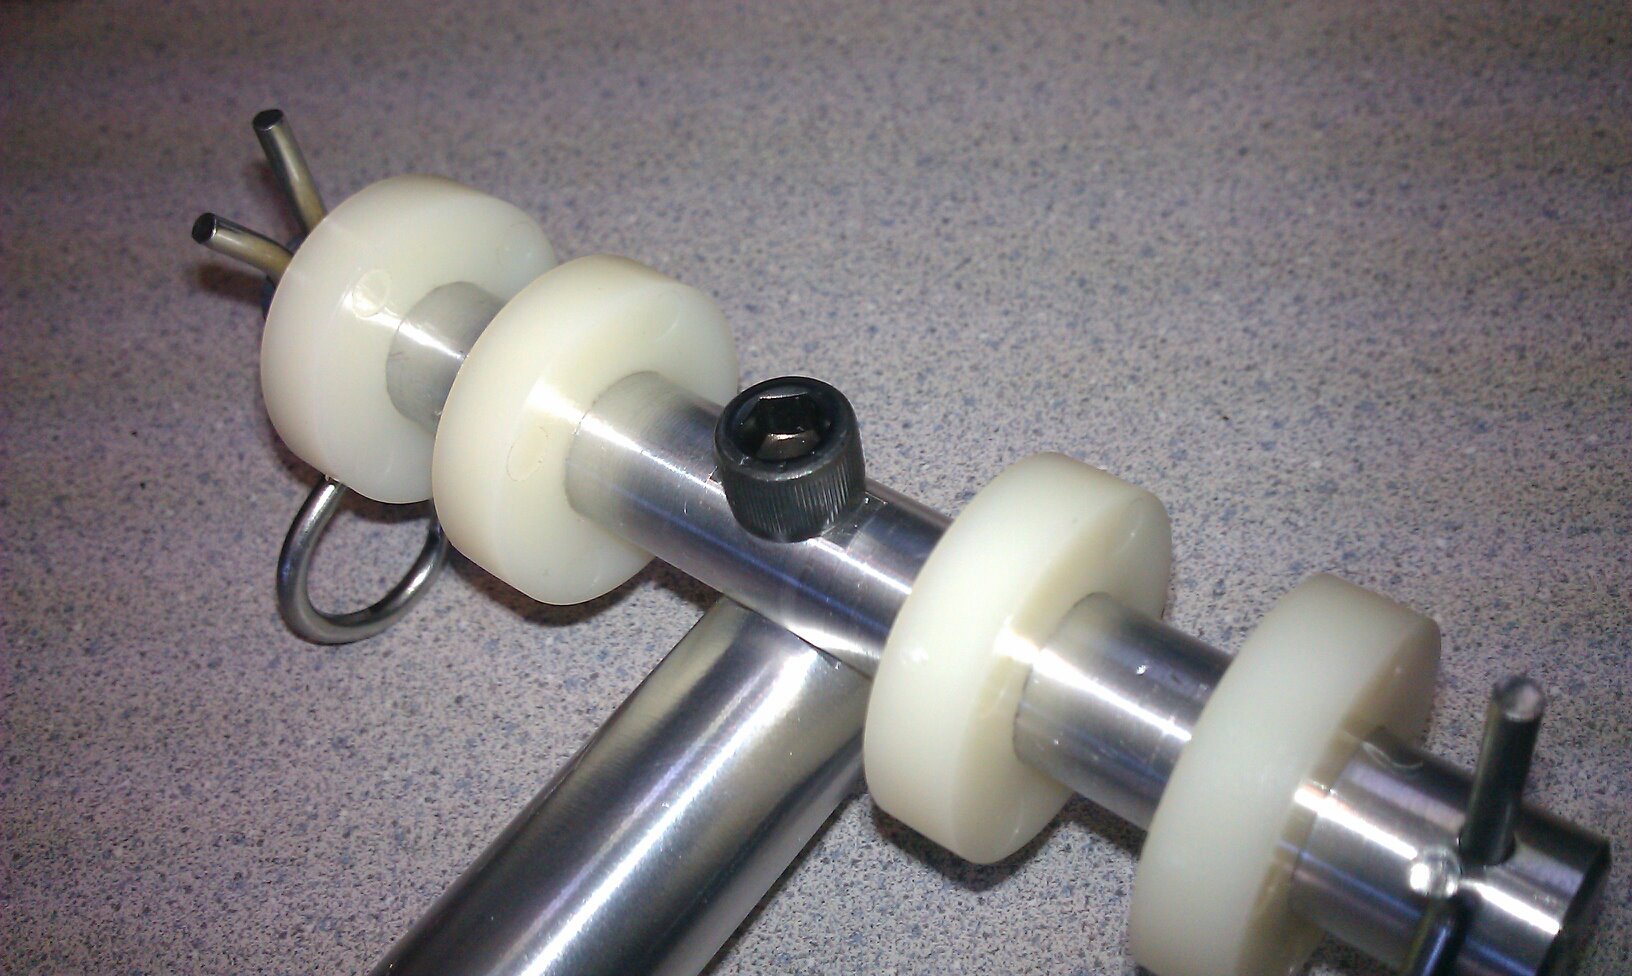
On the end of the jib arm, I had to create a place to hold the weights. The custom nylon rings are "Anti-clink" spacers that are designed to make sure the weights don't - clink.
A single weight, without the "Anti-clink" spacers, attached to the cross arm and before I gave the arm a finished sheen.
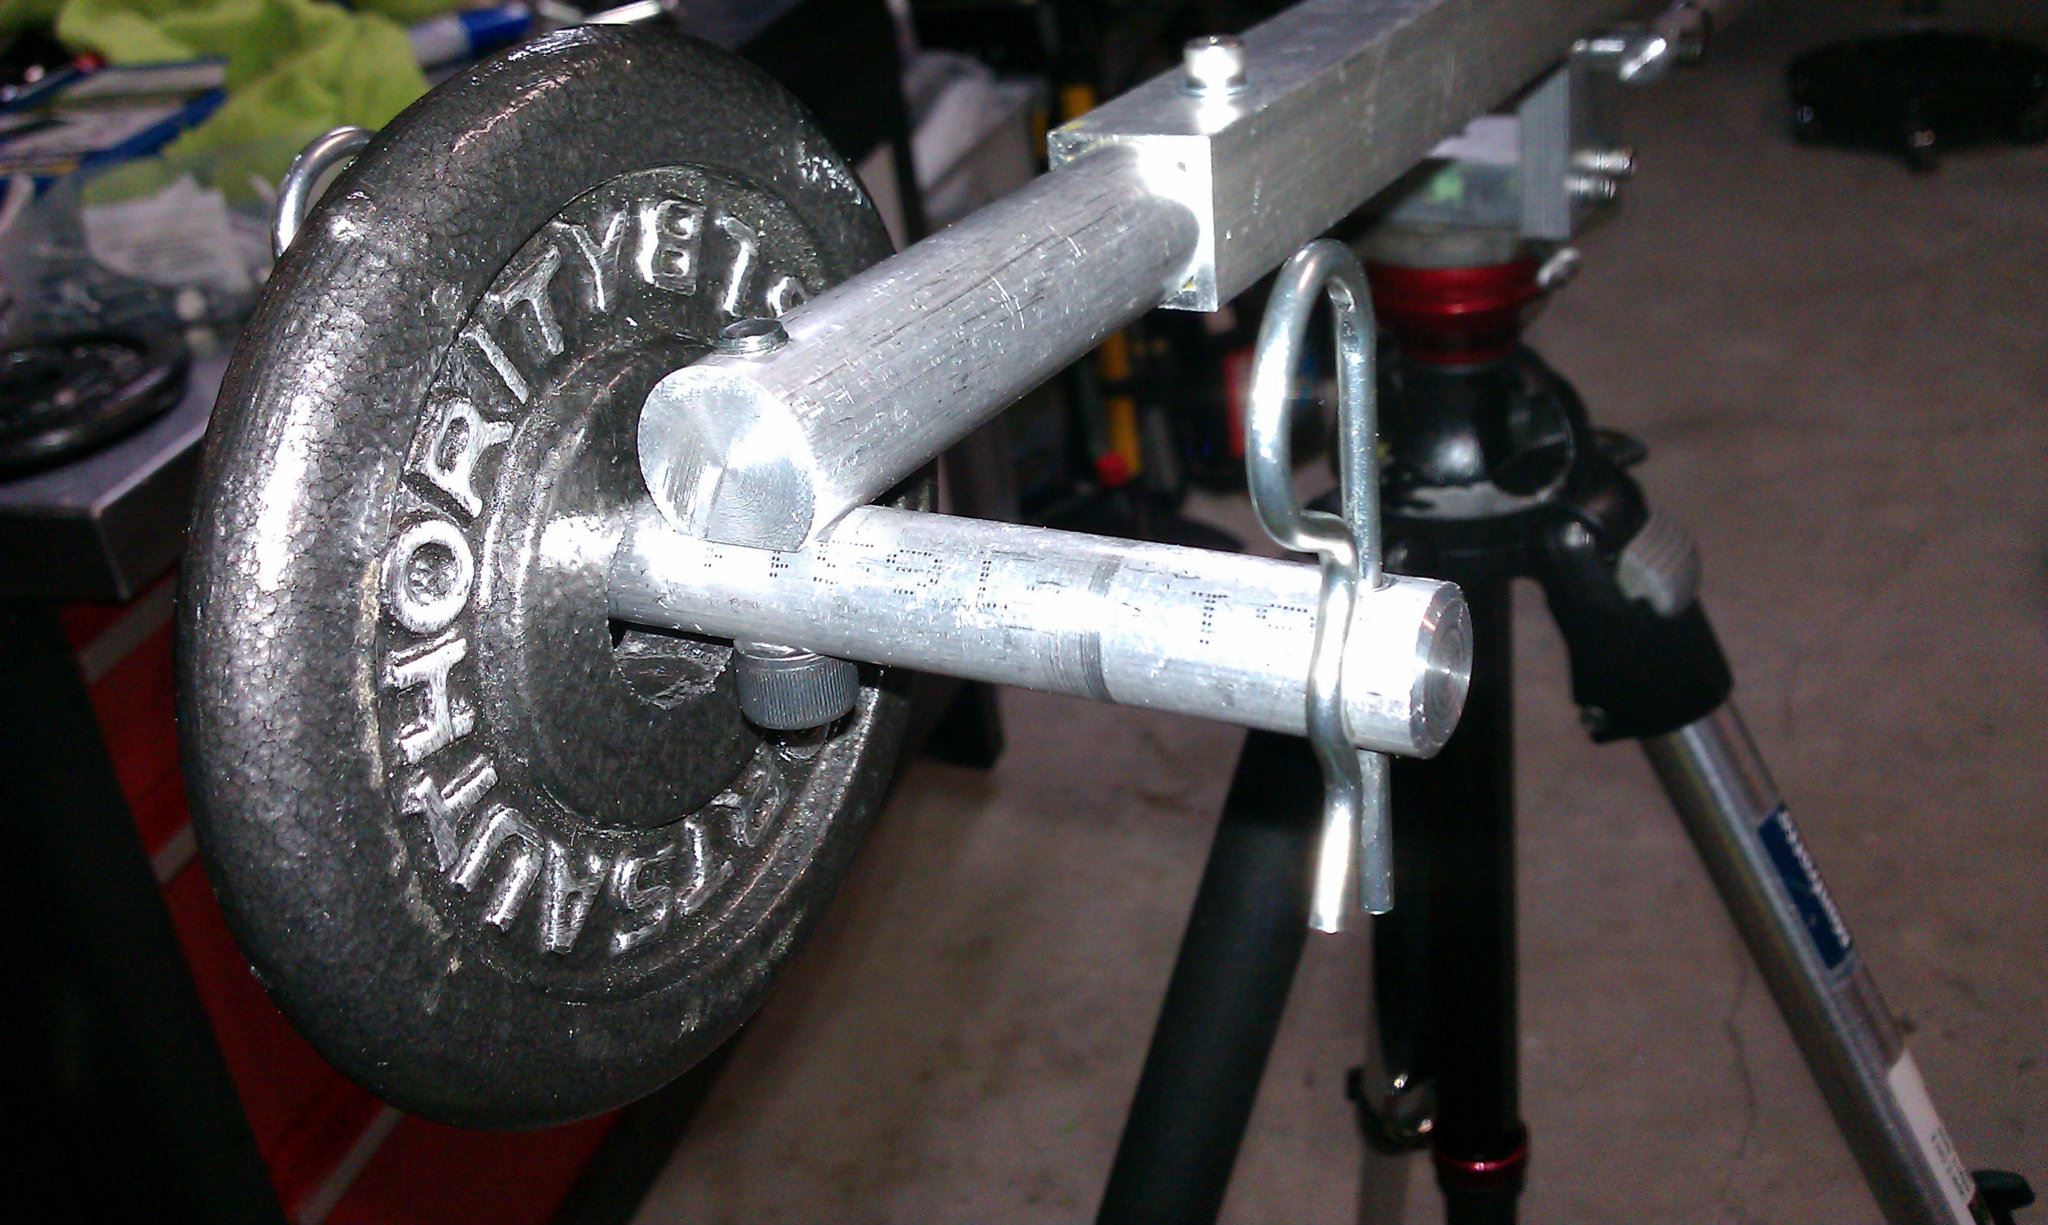
Here is the jib in action. This was the first time I had used the jib "Out in the Wild". I had forgotten my nice matching weights at home, so a trip to the local used sporting goods store gave me those awesome ugly weights. Notice how nice the Pentax K5 sits balanced with an external microphone.
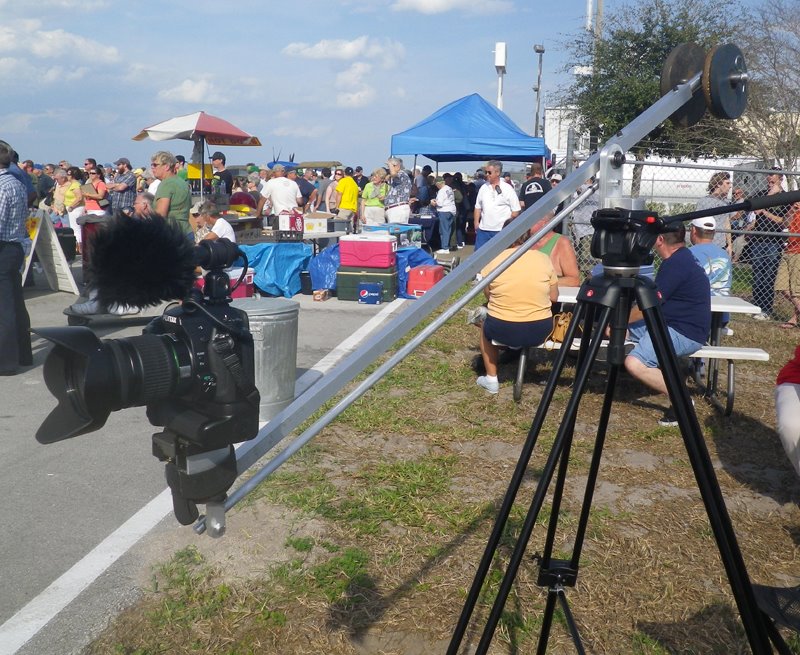
Here is the video I shot that day.
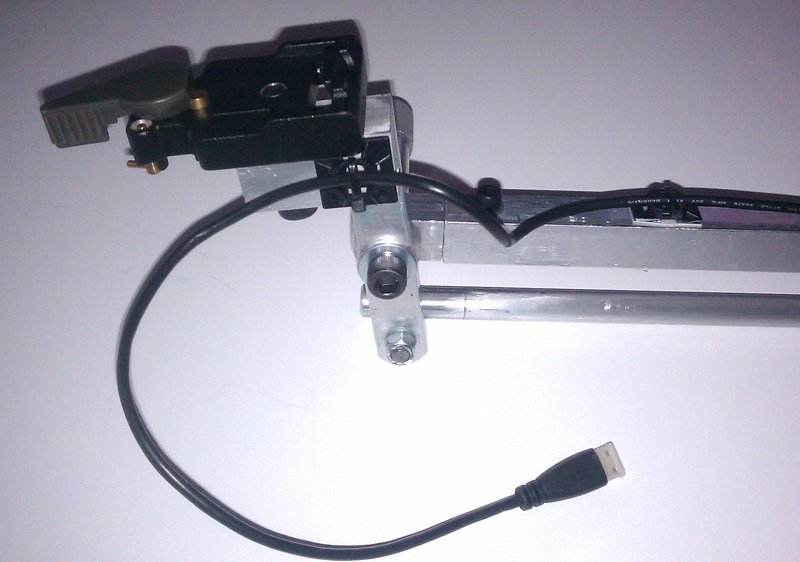
After the shoot, I realized that I needed to mount a monitor, so I created an arm to mount a monitor.

I also ran an HDMI cable to connect the monitor
Here is the finished Micro Jib in my living room. Notice the size, which is perfect for indoor shooting or quick setups and break downs.

I have my own Metal lathe and Mill. However, this project coincided with the purchase of the Mill. I leaned many techniques first hand ON this project. I had no plans to go on, and it took me several months to get to the finished project you see here. I have some additional things I have to construct, and they will come later. Things like a fine-tuning of the balance and maybe a locking mechanism. So while the project is done for now, I don't count it as "complete". There is more work to do.
All rights reserved, 2012